Inserting Video
Note that these instructions largely apply to adding American Sign Language (ASL) videos in most interactions as well. Read the instructions for each interaction to find out how the procedure differs.
To insert a video clip:
1.Click  . The Media Upload: Video window appears (Figure 208).
Figure 208: Media Upload: Video Window: Upload Video Tab
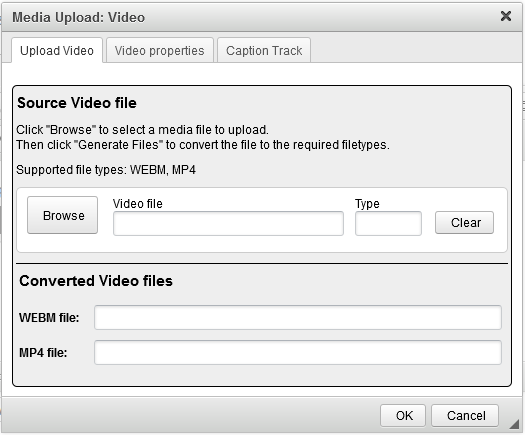
2.Click Browse and double-click the MP4 or WEBM file you want in the CKFinder window that appears.
- If the file is not available in this window, click Upload and select the file from your computer. When uploading video files in the CKFinder window, make sure the Video folder is selected in the panel on the left.
3.Click Generate Files. IAT converts the video file into both WEBM and MP4 files.
4.Optional: In the Video properties tab (Figure 209), set additional properties for the video, if necessary:
- To upload a poster image that appears when the video is not playing, click Browse Server beside the Poster image field and double-click the image file you want in the CKFinder window that appears.
- If the file is not available in this window, click Upload and select the file from your computer. When uploading image files in the CKFinder window, make sure the Images folder is selected in the panel on the left.
- To adjust the video’s dimensions, modify the pixel values in the Width and Height fields.
- To set the video to play automatically when students open it, mark the Autoplay checkbox.
Select an alignment from the Align drop-down list (left, center, or right).
Figure 209: Media Upload: Video Window: Video Properties Tab

5.Optional: In the Caption Track tab, upload the video’s captions by clicking Browse, then double-clicking the WebVTT (.vtt) file you want from the CKFinder window that appears. When the student plays the video, the captions will appear superimposed on it.
- If the file is not available in this window, click Upload and select the file from your computer. When uploading WebVTT files in the CKFinder window, make sure the Track folder is selected in the panel on the left.
6.Click OK. The video clip appears in the CKEditor.
7.Optional: To edit the video clip, double-click the  icon at the upper-left corner. The Media Upload: Video window appears again.